Getting Started
A step-by-step guide to setting up your workspace, uploading images, and streamlining your team’s feedback workflow in minutes.
Written By Jasen Fici
Last updated 7 months ago
Getting Started with Boast Image
Boast Image is a visual feedback platform that centralizes reviews for web pages, images, and PDFs. It eliminates the confusion of long email chains by allowing team members and clients to pin comments directly onto visual assets, turning feedback into actionable tasks.
Step 1: Create Your Account
To begin your 14-day full access trial (no credit card required) to explore all features.
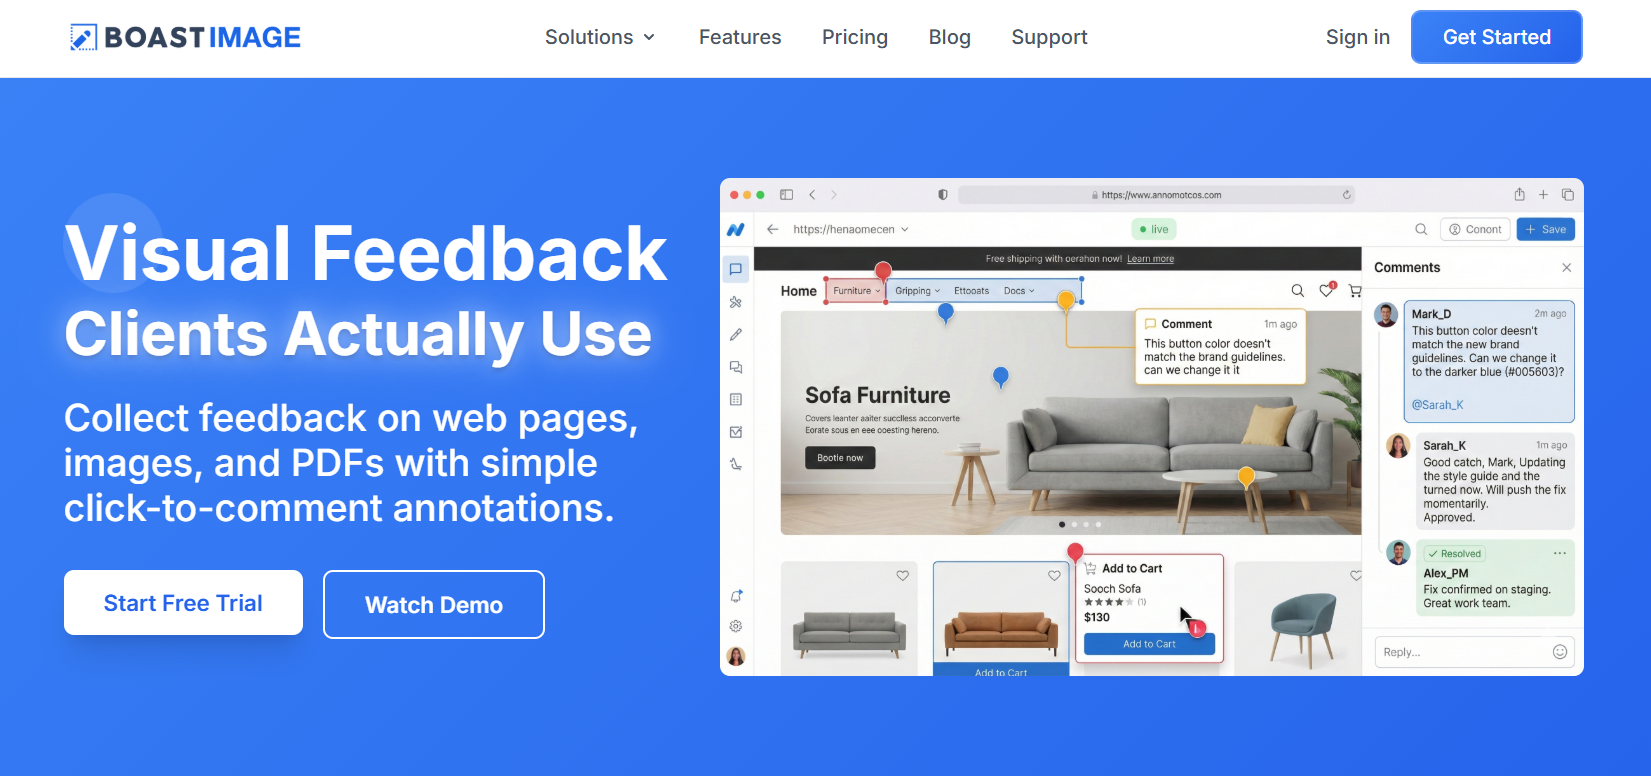
Go to the home page of Boast Image and press the Get Started button, which is located in the upper right corner.
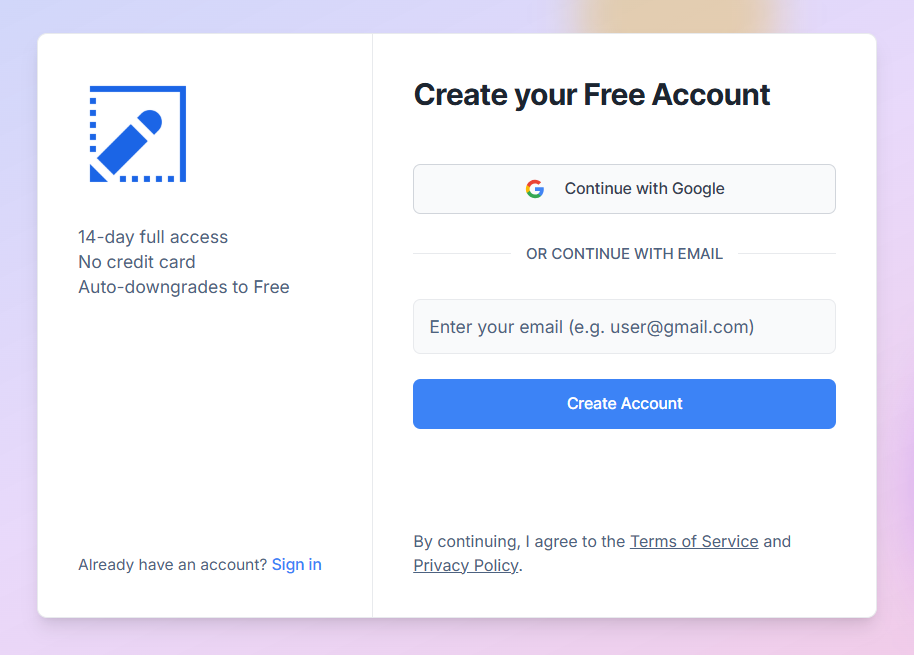
On the Create your Free Account page, choose to Continue with Google for instant access, or enter your email address and select Create Account.
Step 2: Navigate Your First Project
Upon logging in, you will land in your Default Project. The interface is organized into five primary tabs:
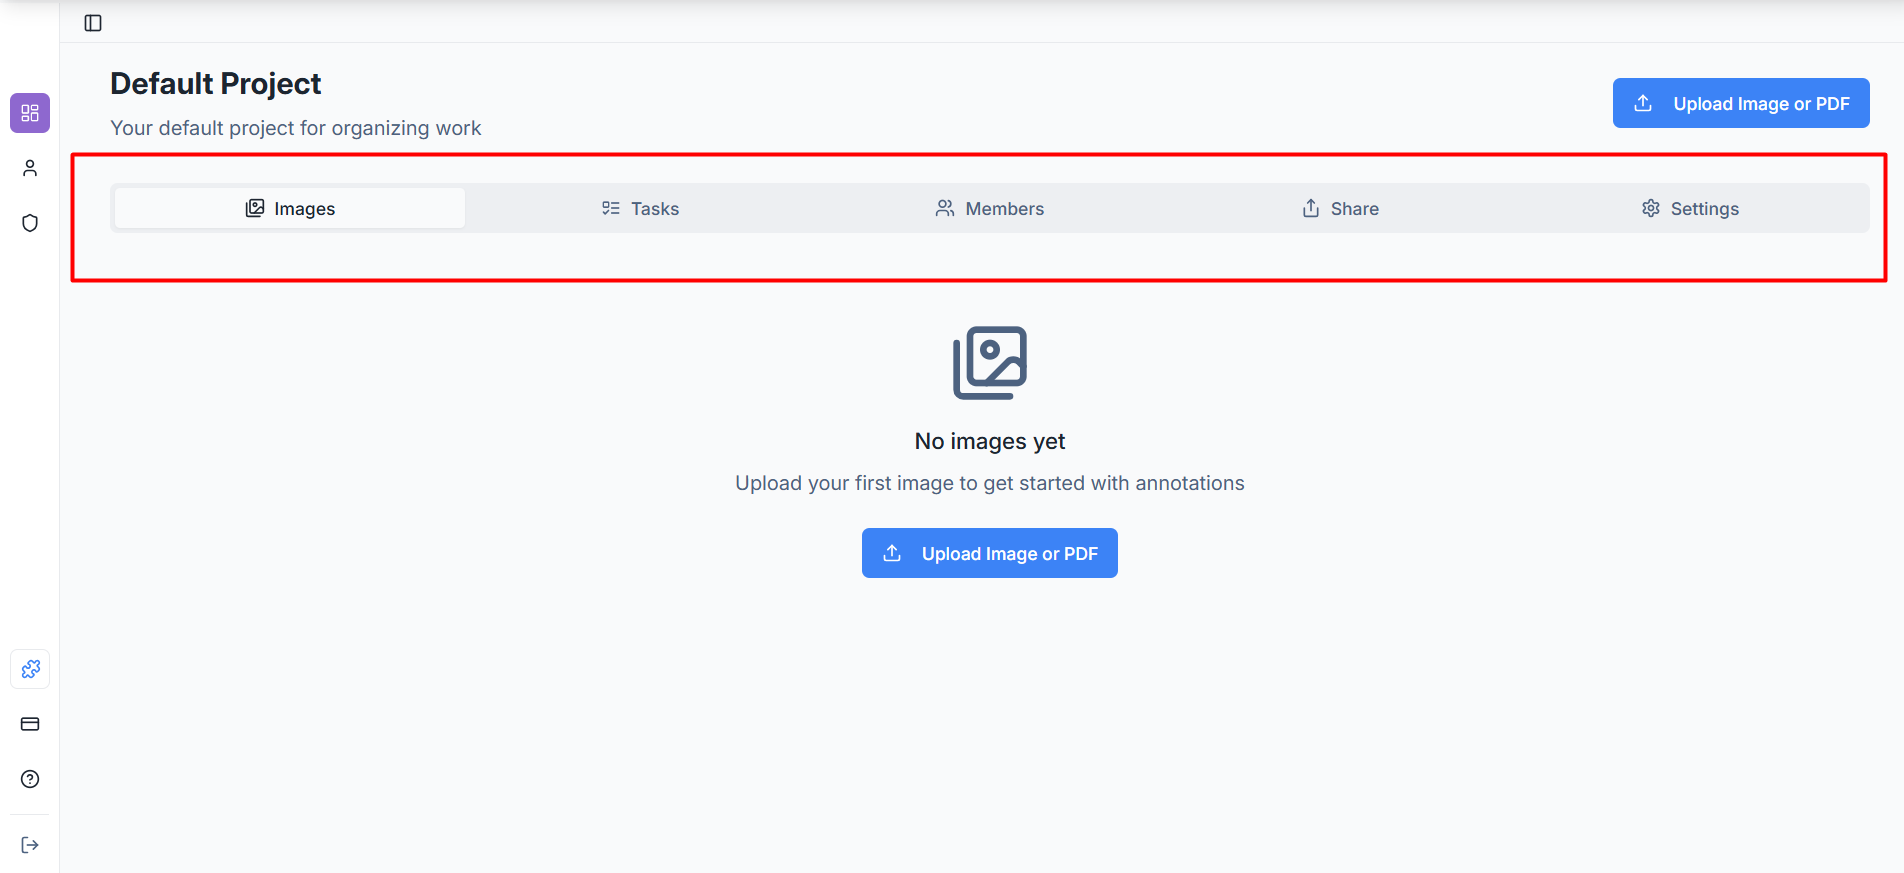
Images: See and edit the images and PDFs you have uploaded.
Tasks: Monitor the feedback items on a list or Kanban board.
Members: View information on who can access this particular project.
Share: Create connections and share links with outside partners.
Settings: Customize and specialize specific project settings
Step 3: The Upload & Collaboration Flow
To begin gathering feedback, follow this logical workflow:
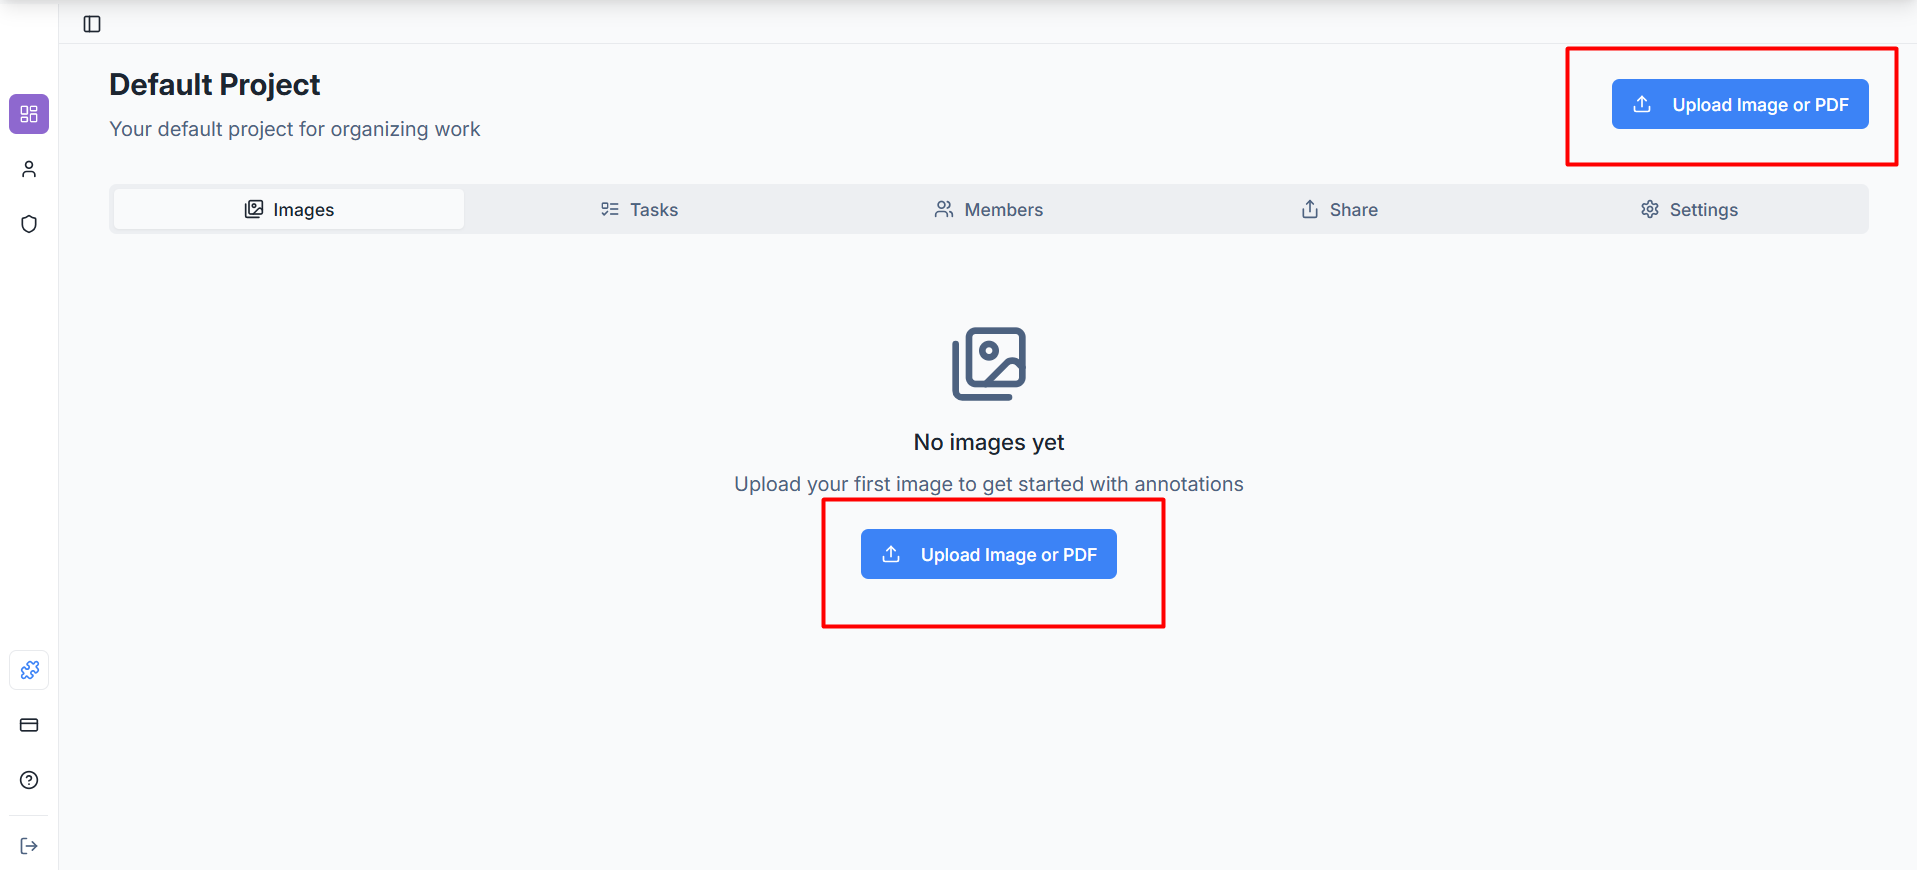
1. Upload an Image : Click the blue Upload Image or PDF button.

You can drag and drop your file or click Upload in the dialog box to browse your device.
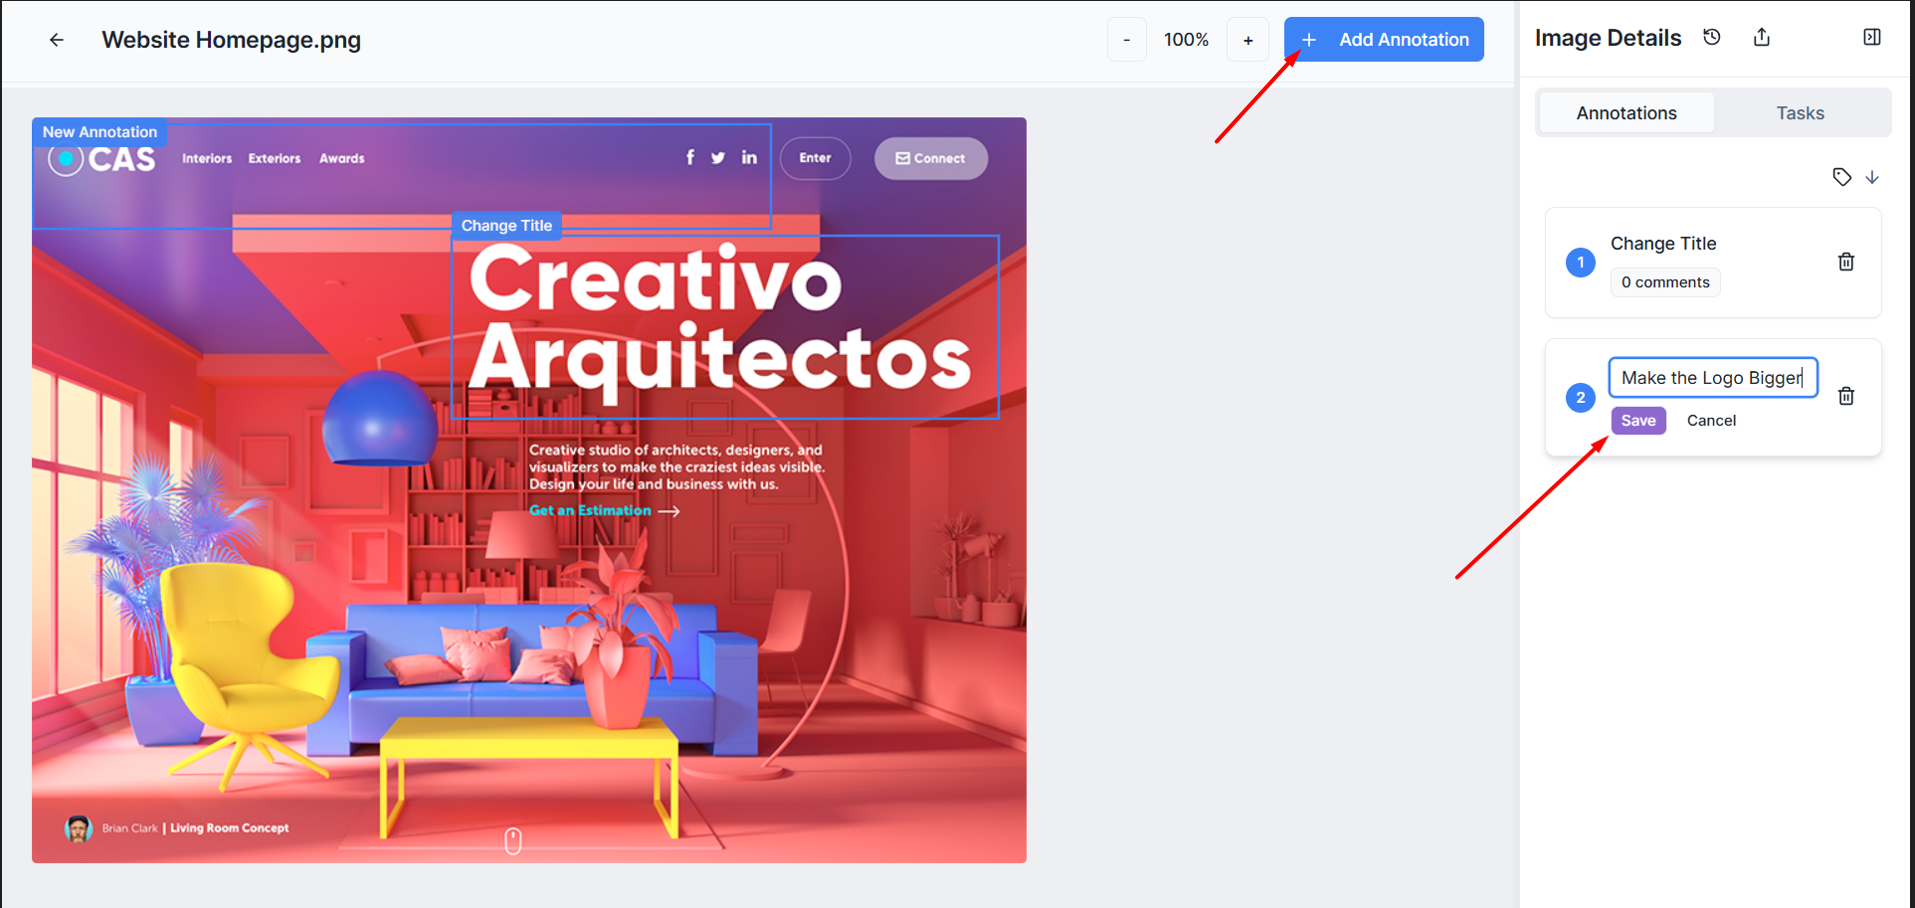
2. Add an Annotation : Once your image is uploaded, click on it to open the editor. Click the + Add Annotation button or click directly anywhere on the image to drop a pin on the specific area you want to discuss.
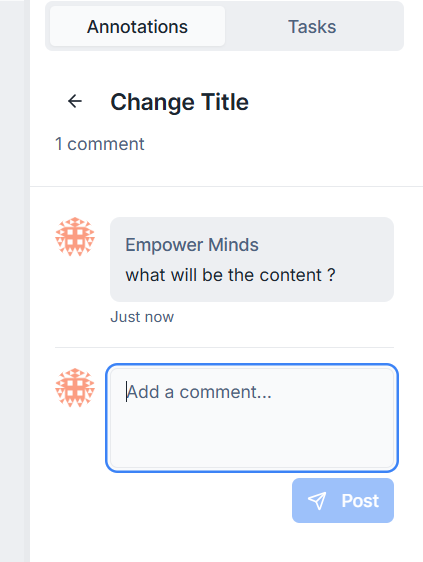
3. Add a Comment : The comment feature is integrated directly within each annotation. To start a conversation, type your feedback in the text box associated with the pin and click Post. This ensures all discussions remain organized and in context with the visual data.
4.Create a Task- Transform feedback into actionable work by converting annotations into tasks:
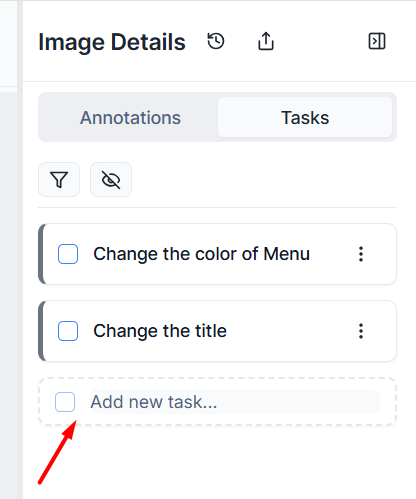
Assign Responsibilities: Within the Image Details sidebar, navigate to the Tasks tab and click Add new task to associate a pin with a work item.
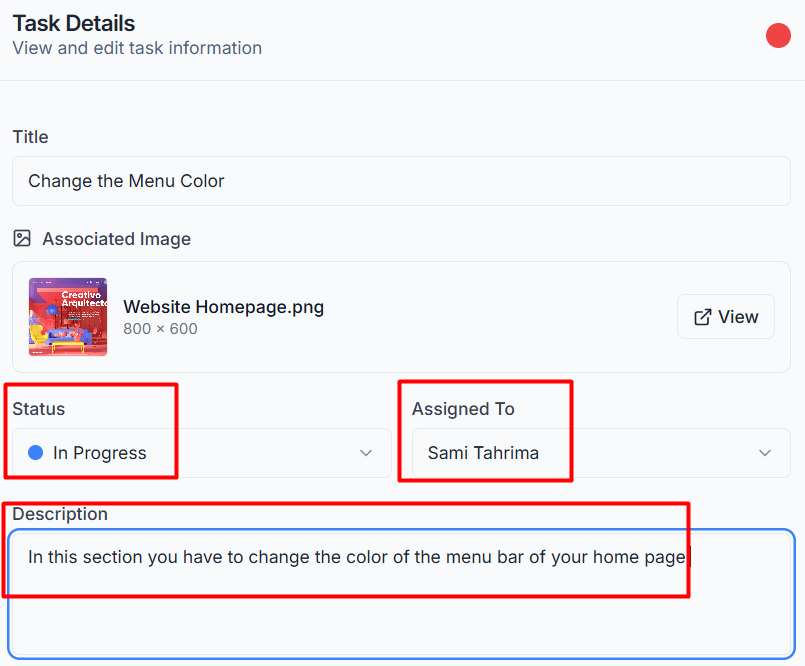
Define Details: In the Task Details window, you can set a specific Title, provide a detailed Description, and update the Status (e.g., In Progress).
Direct Assignment: Use the Assigned To dropdown to select a team member responsible for the change.
5. Invite Collaborators to Your Project- To collaborate with team members or external partners on your entire project:
Navigate to the Share tab in the top project menu.
Use Email Invites to send direct invitations with specific access levels.
Or generate a Project Share Link for broader stakeholder access.
Set permissions (View Only, Comment, or Edit) based on collaboration needs.
Step 4: Project Collaborators via Email Invitations or Secure Links
When you want to collaborate on a full project with others, you can manage invitations and secure access directly from the project interface.
To begin sharing your entire project workspace with outside partners or team members:
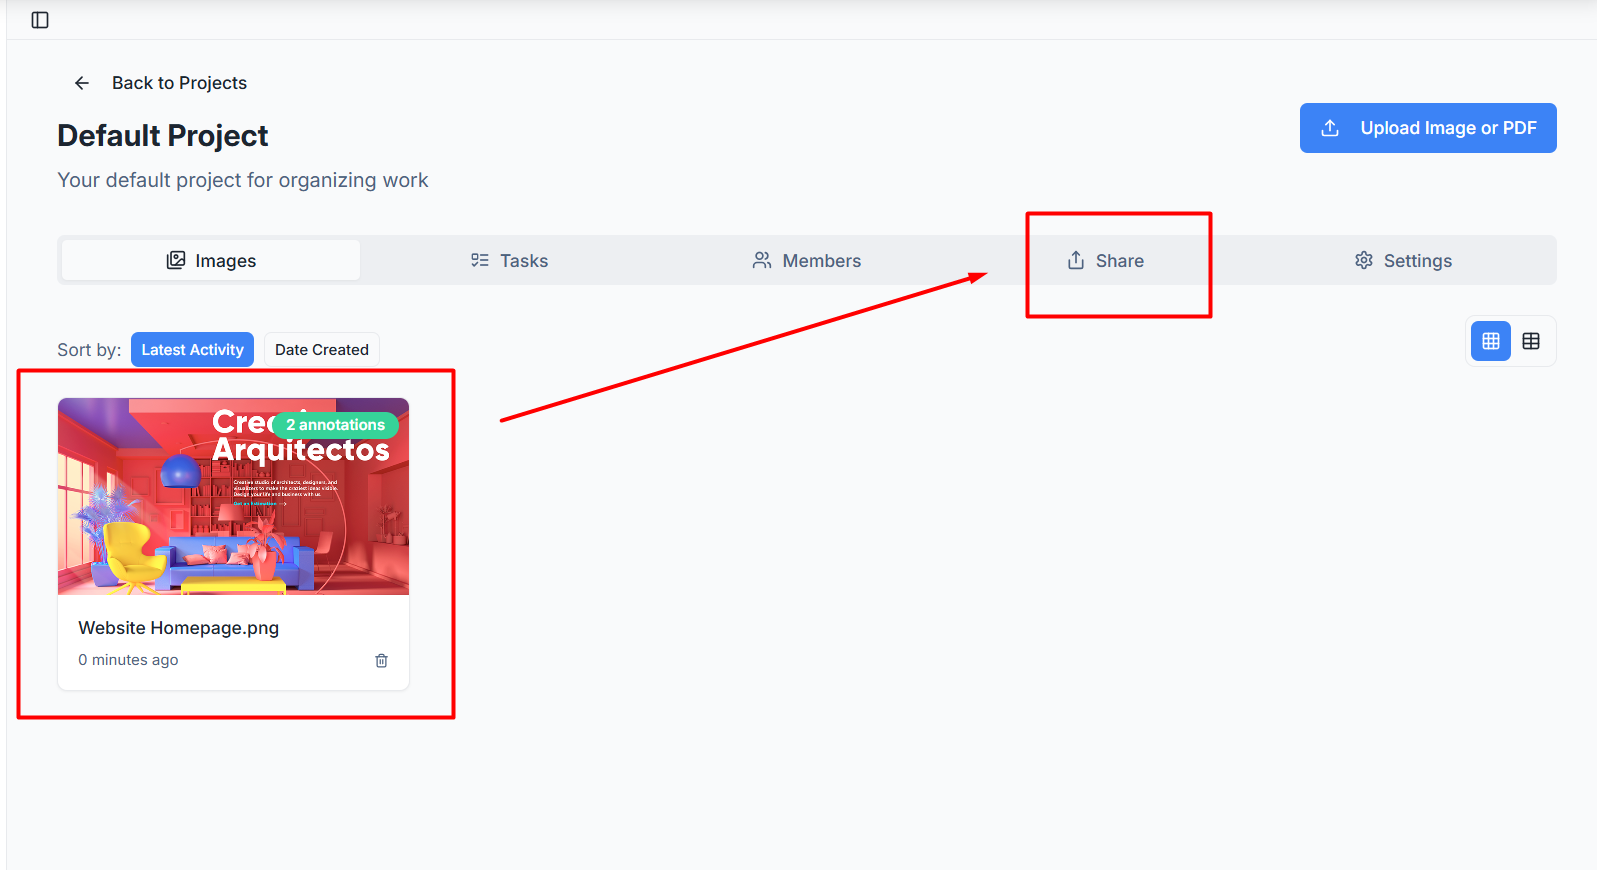
Navigate to the Share Tab: From your project dashboard, click on the Share tab located in the top horizontal menu.
Project Sharing and Access Control
To collaborate with external partners or additional team members, you can share your entire project workspace using direct email invitations or secure shareable links.
Email Invitations
Direct invitations are the best way to manage specific individuals within your project.
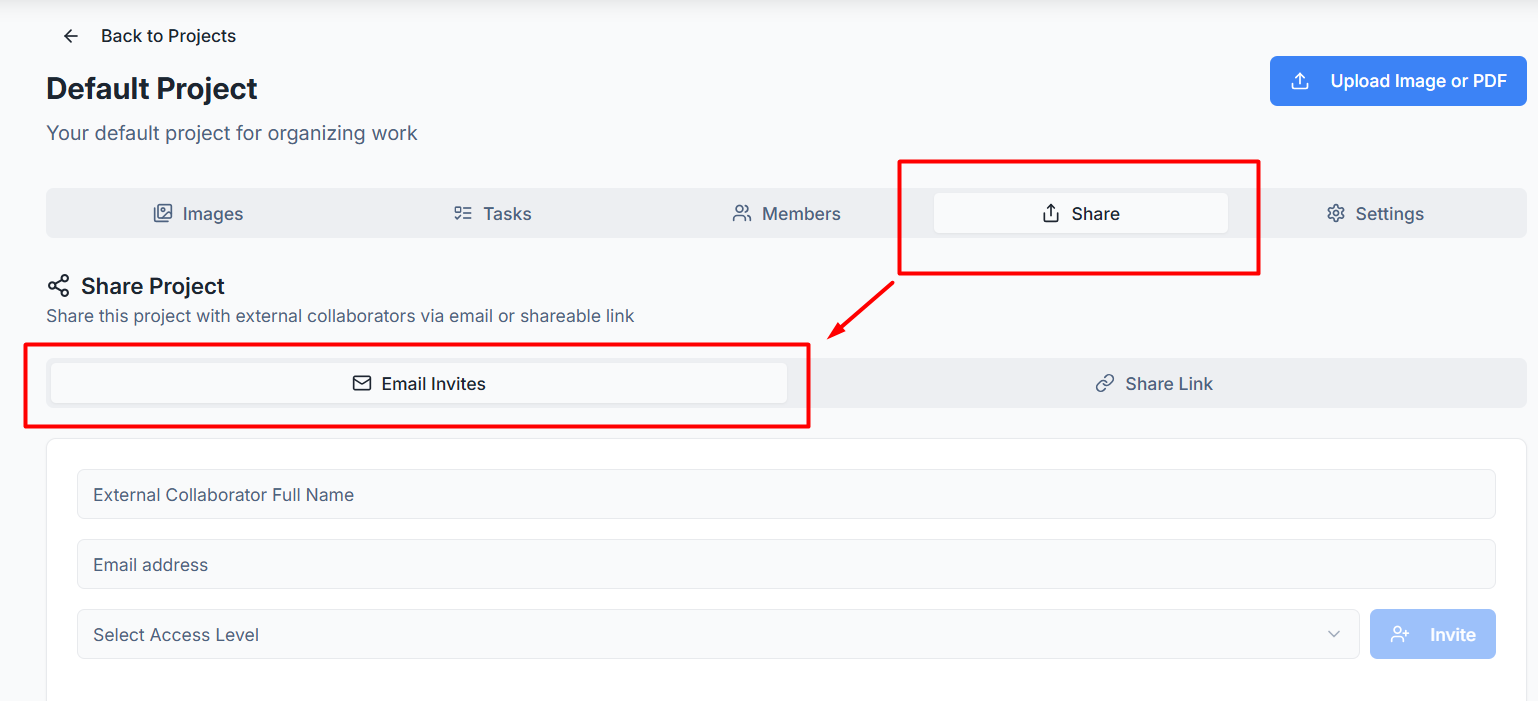
Sending Invites: Navigate to the Share tab and select Email Invites to enter the recipient's name and email address.
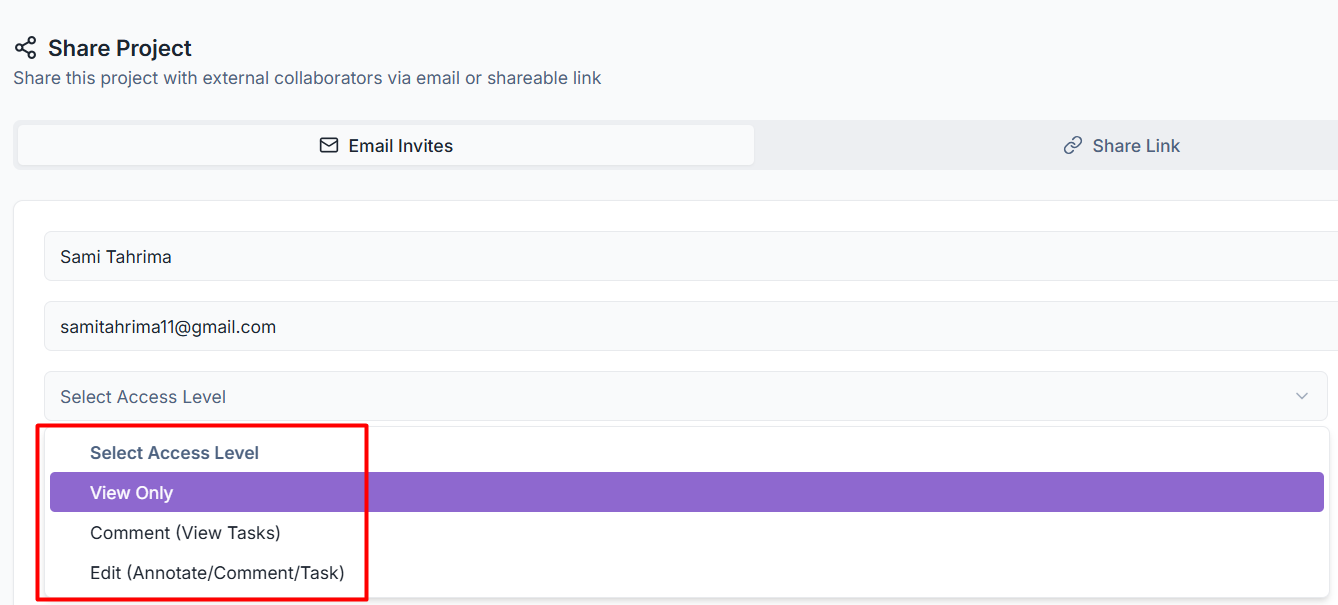
Select Access Level: You must choose a role: View Only, Comment (View Tasks), or Edit (Annotate/Comment/Task).
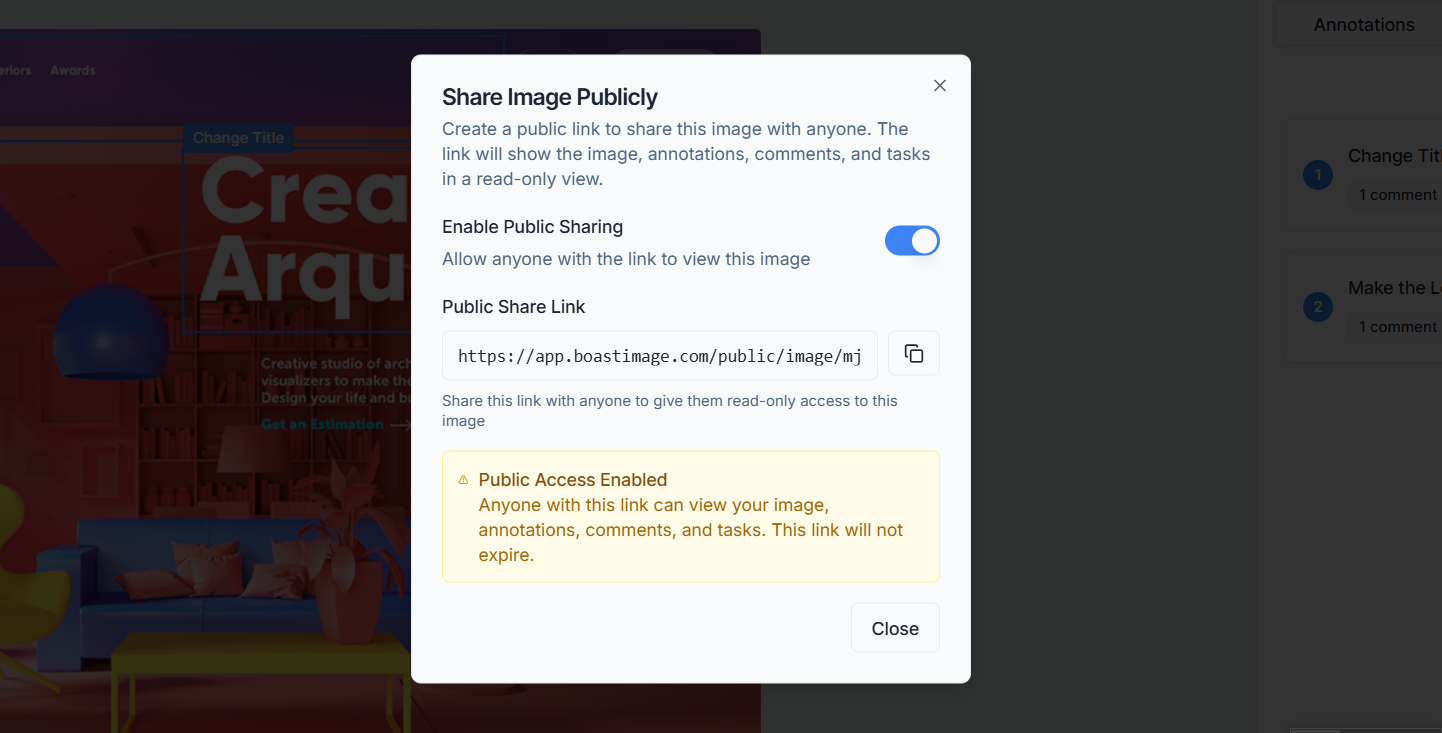
Sharing Projects via Secure Links
Beyond direct email invitations, you can collaborate by generating a secure Share Link for your entire project.

Set Access Permissions and Security Code Protection: : Before sharing, define the Access Level (such as "View Only" or "Comment” ) for anyone using the link to ensure they have the appropriate level of interaction.
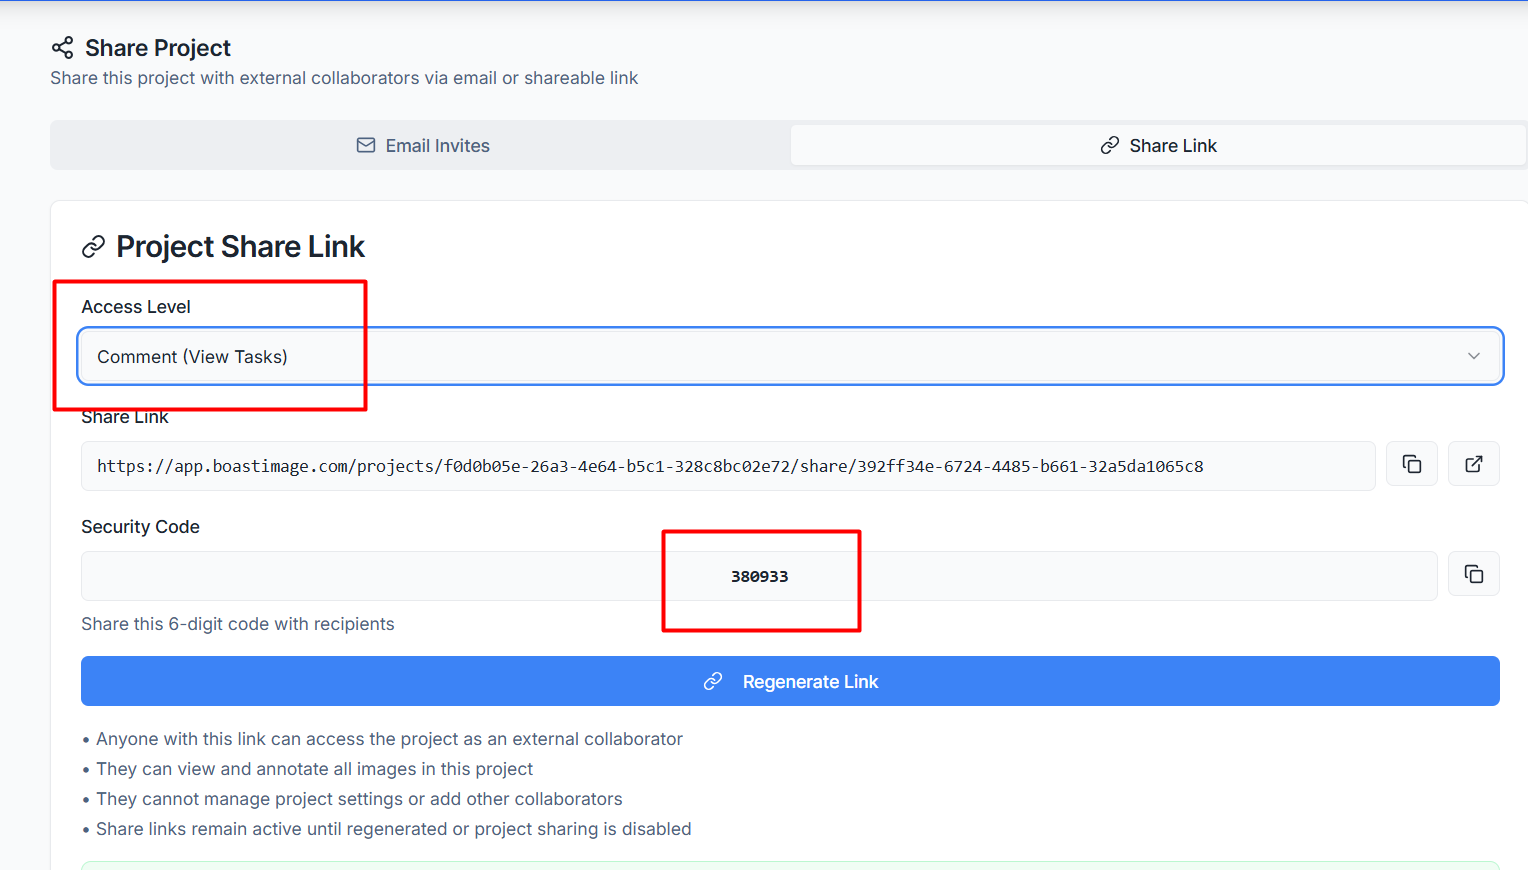
For enhanced safety, each link comes with a unique 6-digit Security Code that must be provided to recipients to grant them access.

You can now easily collaborate by copying and sharing this unique project URL with your partners or stakeholders.
Link Regeneration:
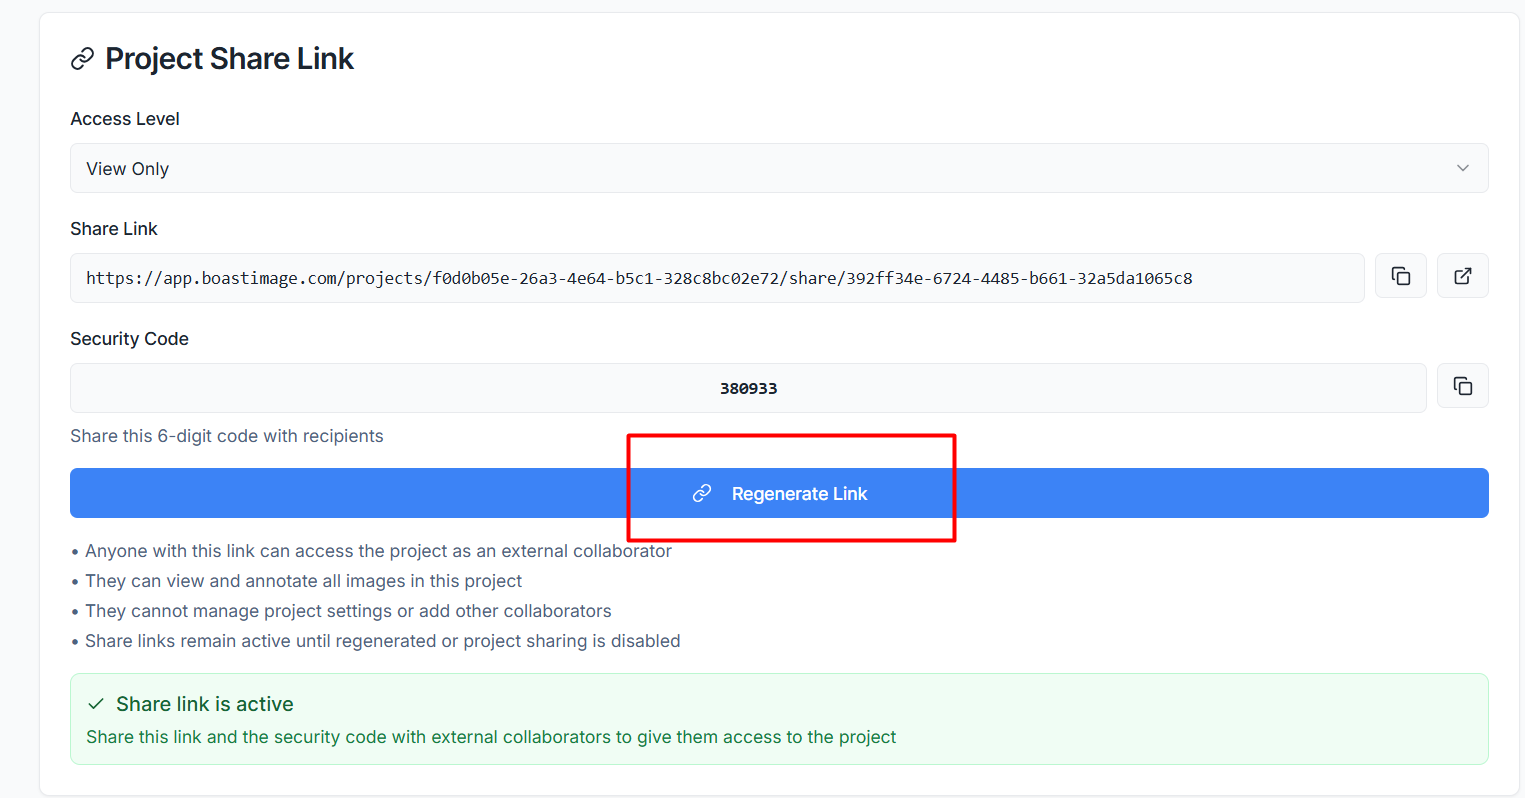
If you need to revoke access or refresh security, click the Regenerate Link button to create a new URL and code, which immediately deactivates the previous one.