Uploading a new Image or PDF
Populating your project gallery with visual assets is a straightforward process, whether you are working with design mockups or multi-page documents.
Written By Jasen Fici
Last updated 7 months ago
Starting the Upload Process
To add new content to your workspace, navigate to the Images tab within your selected project.
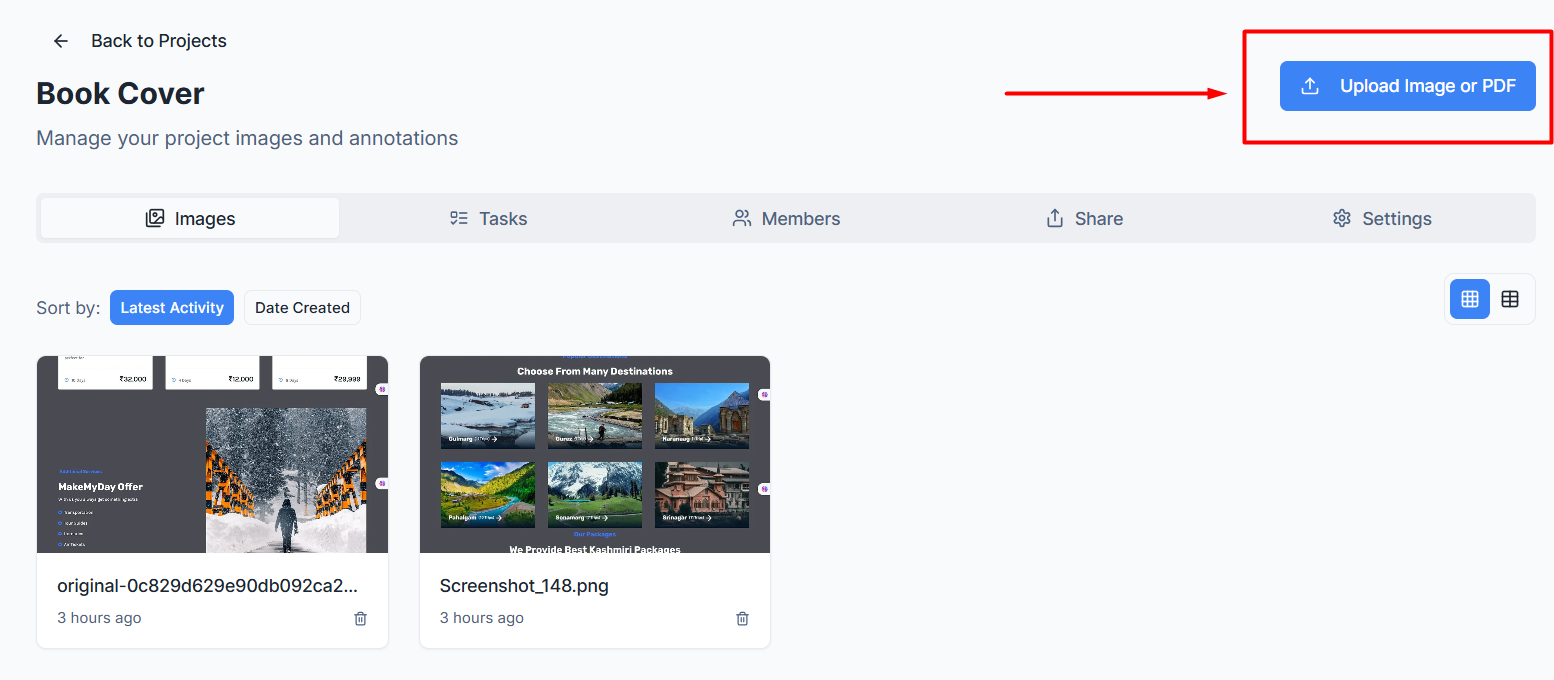
Upload Trigger: Click the blue Upload Image or PDF button located in the top-right corner of the project header.
File Selection: You can drag and drop your files directly or browse your device to select the desired images or PDF documents.
Uploading Images
When uploading standard image formats (such as PNG or JPG), the system provides a preview for final confirmation.
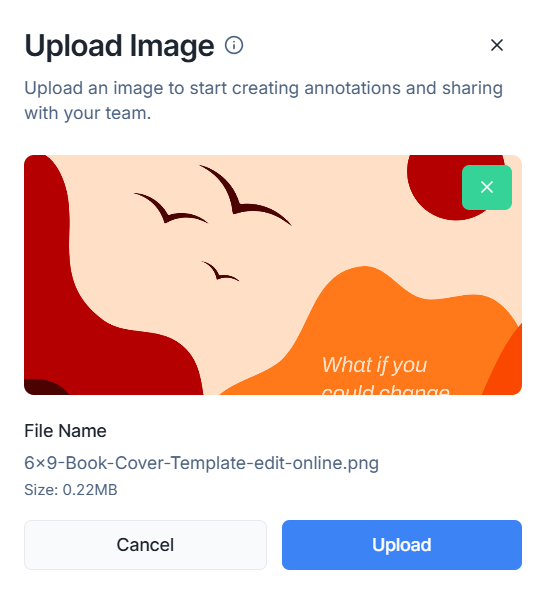
File Preview: A thumbnail of the selected image is displayed so you can verify the content before it enters the system.
Finalize Upload: Review the File Name and Size, then click the blue Upload button to add the image to your project gallery.
Uploading and Converting PDFs
Boast Image handles PDF files by converting them into high-quality images, allowing you to drop annotations on specific pages.
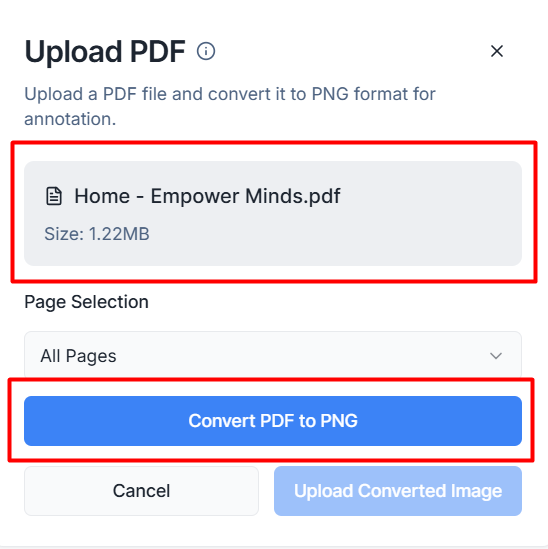
File Details: The upload window displays the PDF's name (e.g., "Home - Empower Minds.pdf") and its total file size.
Page Selection: Use the Page Selection dropdown menu to choose specific pages or convert All Pages for review.
Conversion Step: Click the blue Convert PDF to PNG button to process the document.
Complete Upload: Once processed, click Upload Converted Image to finalize the addition to your project.